Please note: Only Azure AD Government Community Cloud (GCC) environments need to follow these instructions.
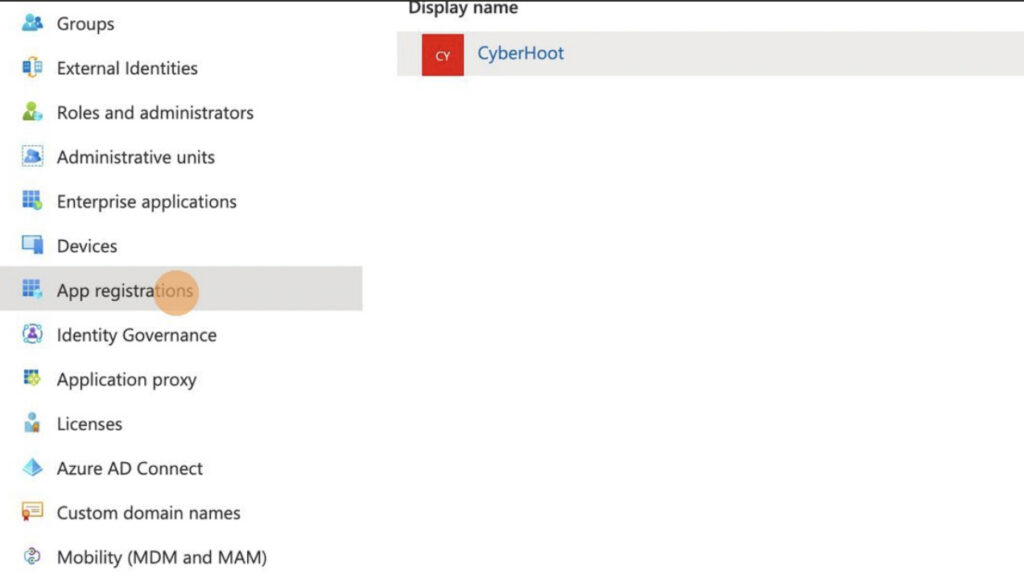
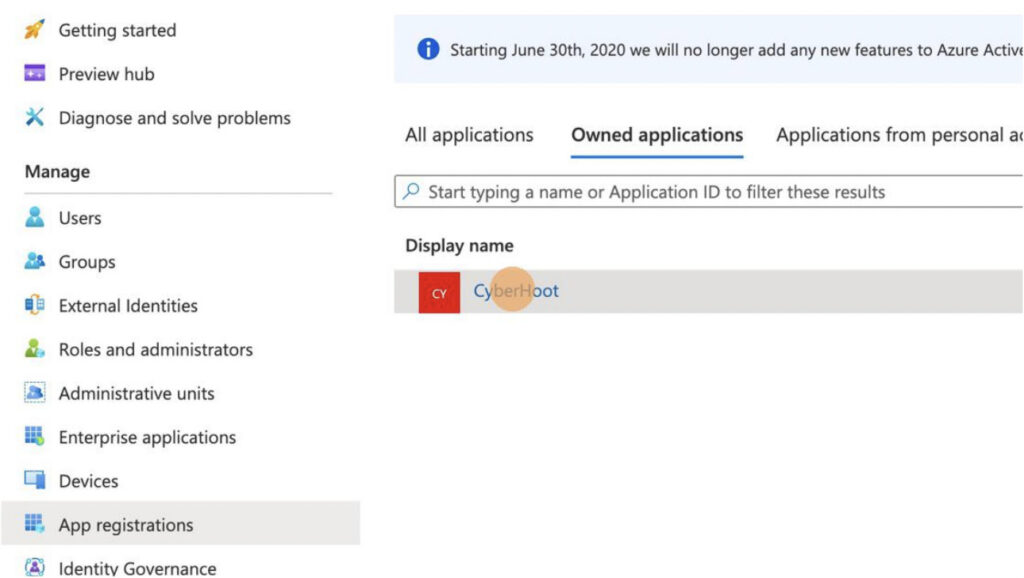

9) Under “Azure Groups”, enter the exact name of a group in Azure that holds all of the users you wish to add to CyberHoot
10) Make sure you click “Update” first, then click “Sync Now”
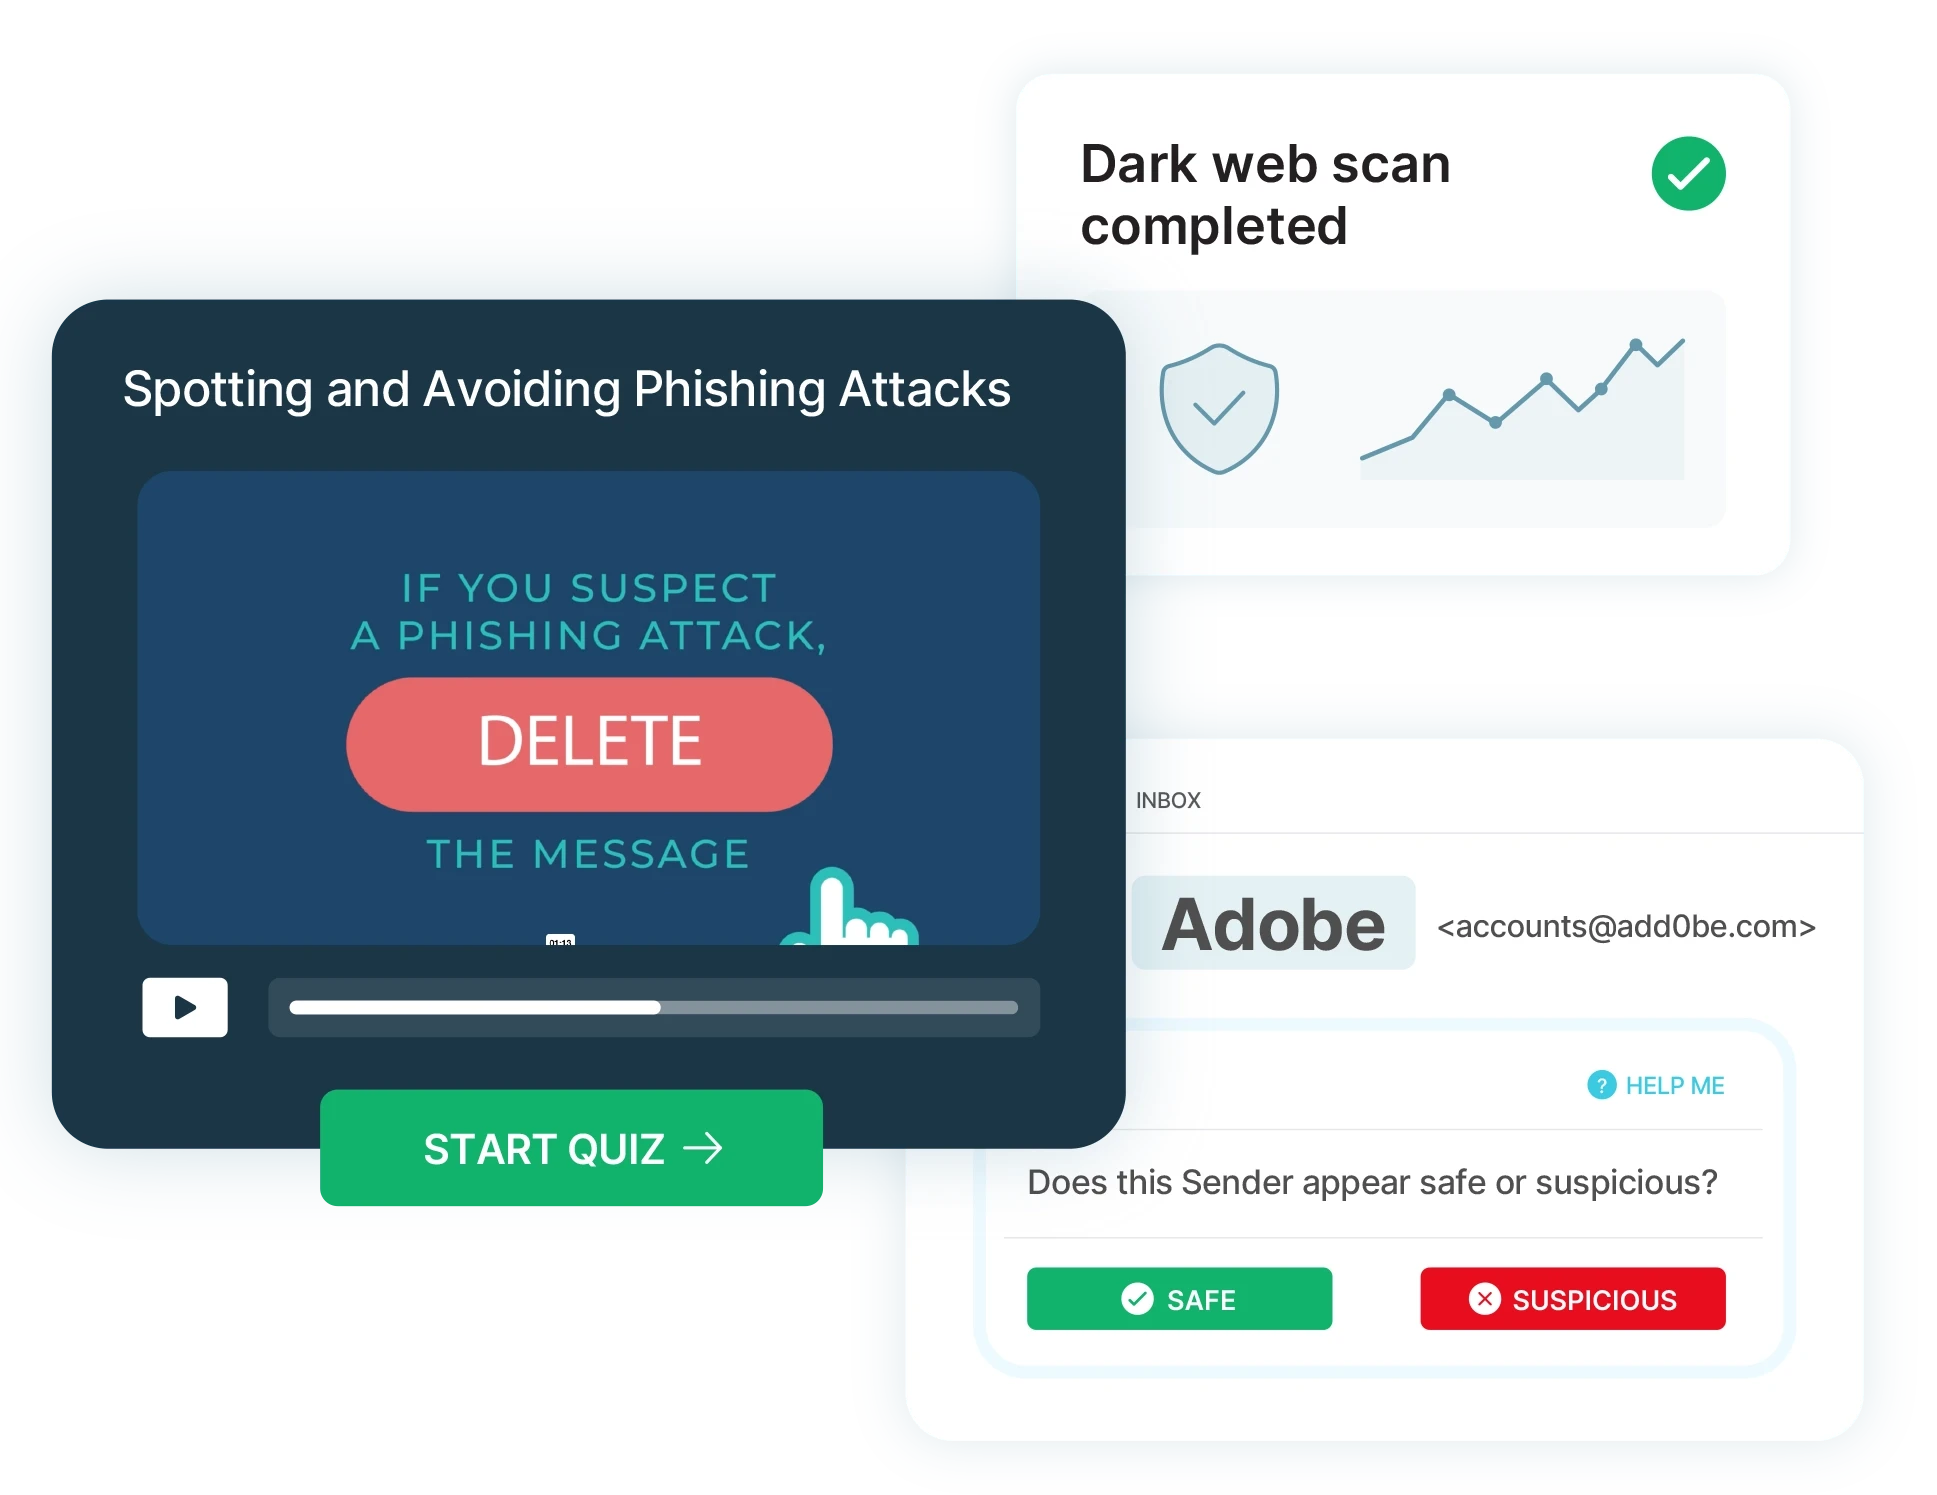
For more instructional ‘HowTo’ videos, head over to our HowTo Library for more guidance. If you’re unsure where to start, review the following recommended videos and articles around common Administrator (or SuperAdministrator) pain points:
Discover and share the latest cybersecurity trends, tips and best practices – alongside new threats to watch out for.

Ever had your phone suddenly lose service for no reason, followed by a flood of “reset your password”...
Read more
As smart homes get smarter, so do their habits of watching, sensing, and reporting. Enter WiFi Motion Detection, a...
Read more
Spoiler alert: If you’re still using “password123” or “iloveyou” for your login… it’s time for an...
Read moreGet sharper eyes on human risks, with the positive approach that beats traditional phish testing.