If you’re using Proofpoint’s spam filtering software, you can safelist (whitelist) CyberHoot to allow your users to receive our simulated attack-based phish testing emails.
CyberHoot Mail Relays to Add to your Allow-Lists
Please Note: if you are using URL Defense in your ProofPoint, be sure to also enable a bypass for CyberHoot in URL defenses. See below for details.
The below instructions apply to allow-listing in ProofPoint Essentials.
NOTE: We also recommend that you add CyberHoot’s sending mail relay IP addresses to Proofpoint’s URL Defense (this will help prevent any issues with ProofPoint’s Targeted Attack Protection). Here are instructions on adding Portal’s IP addresses to ProofPoint’s Targeted Attack Protection:
Discover and share the latest cybersecurity trends, tips and best practices – alongside new threats to watch out for.

Tax season keeps accountants busy, and it keeps scammers busy too. Early this summer, a CPA firm became the...
Read more
Researchers went looking for a fake photo upscaler and found something stranger: a ransomware kit an AI model...
Read more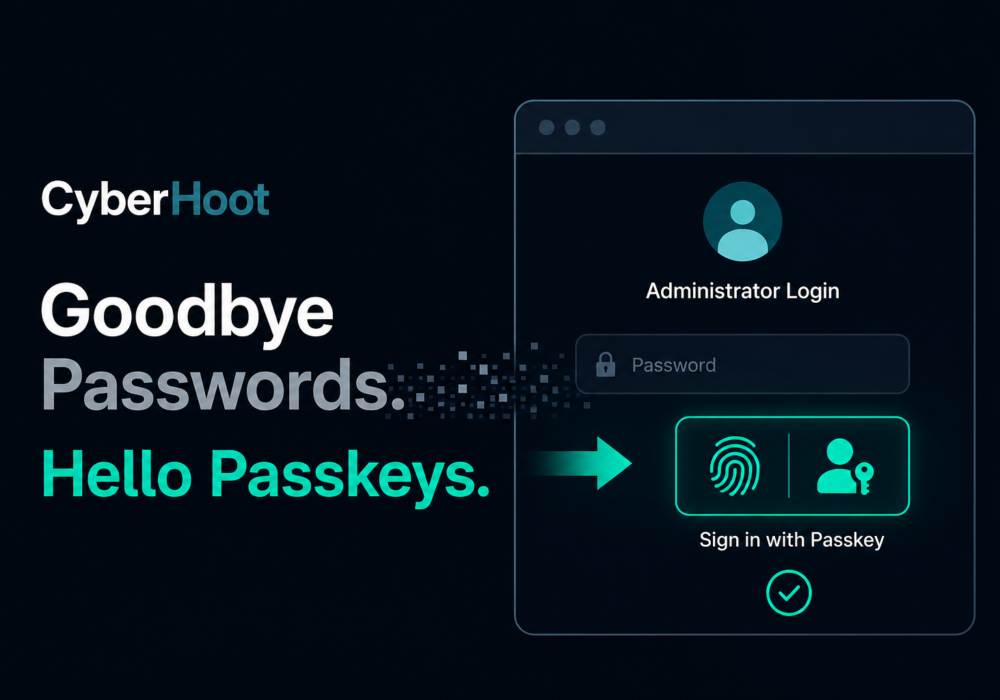
For four years, CyberHoot has argued the same thing on its blog: passwords are major weak link. They get reused,...
Read moreGet sharper eyes on human risks, with the positive approach that beats traditional phish testing.