Adding users to CyberHoot’s Power and Autopilot Platforms via Google Workspace Sync
If your company uses Google Workspace, you can use it as a simple and effective way to manage users within CyberHoot. Follow the steps below:
The video below shows you how to accomplish these steps as well as how to set up managers for each user.
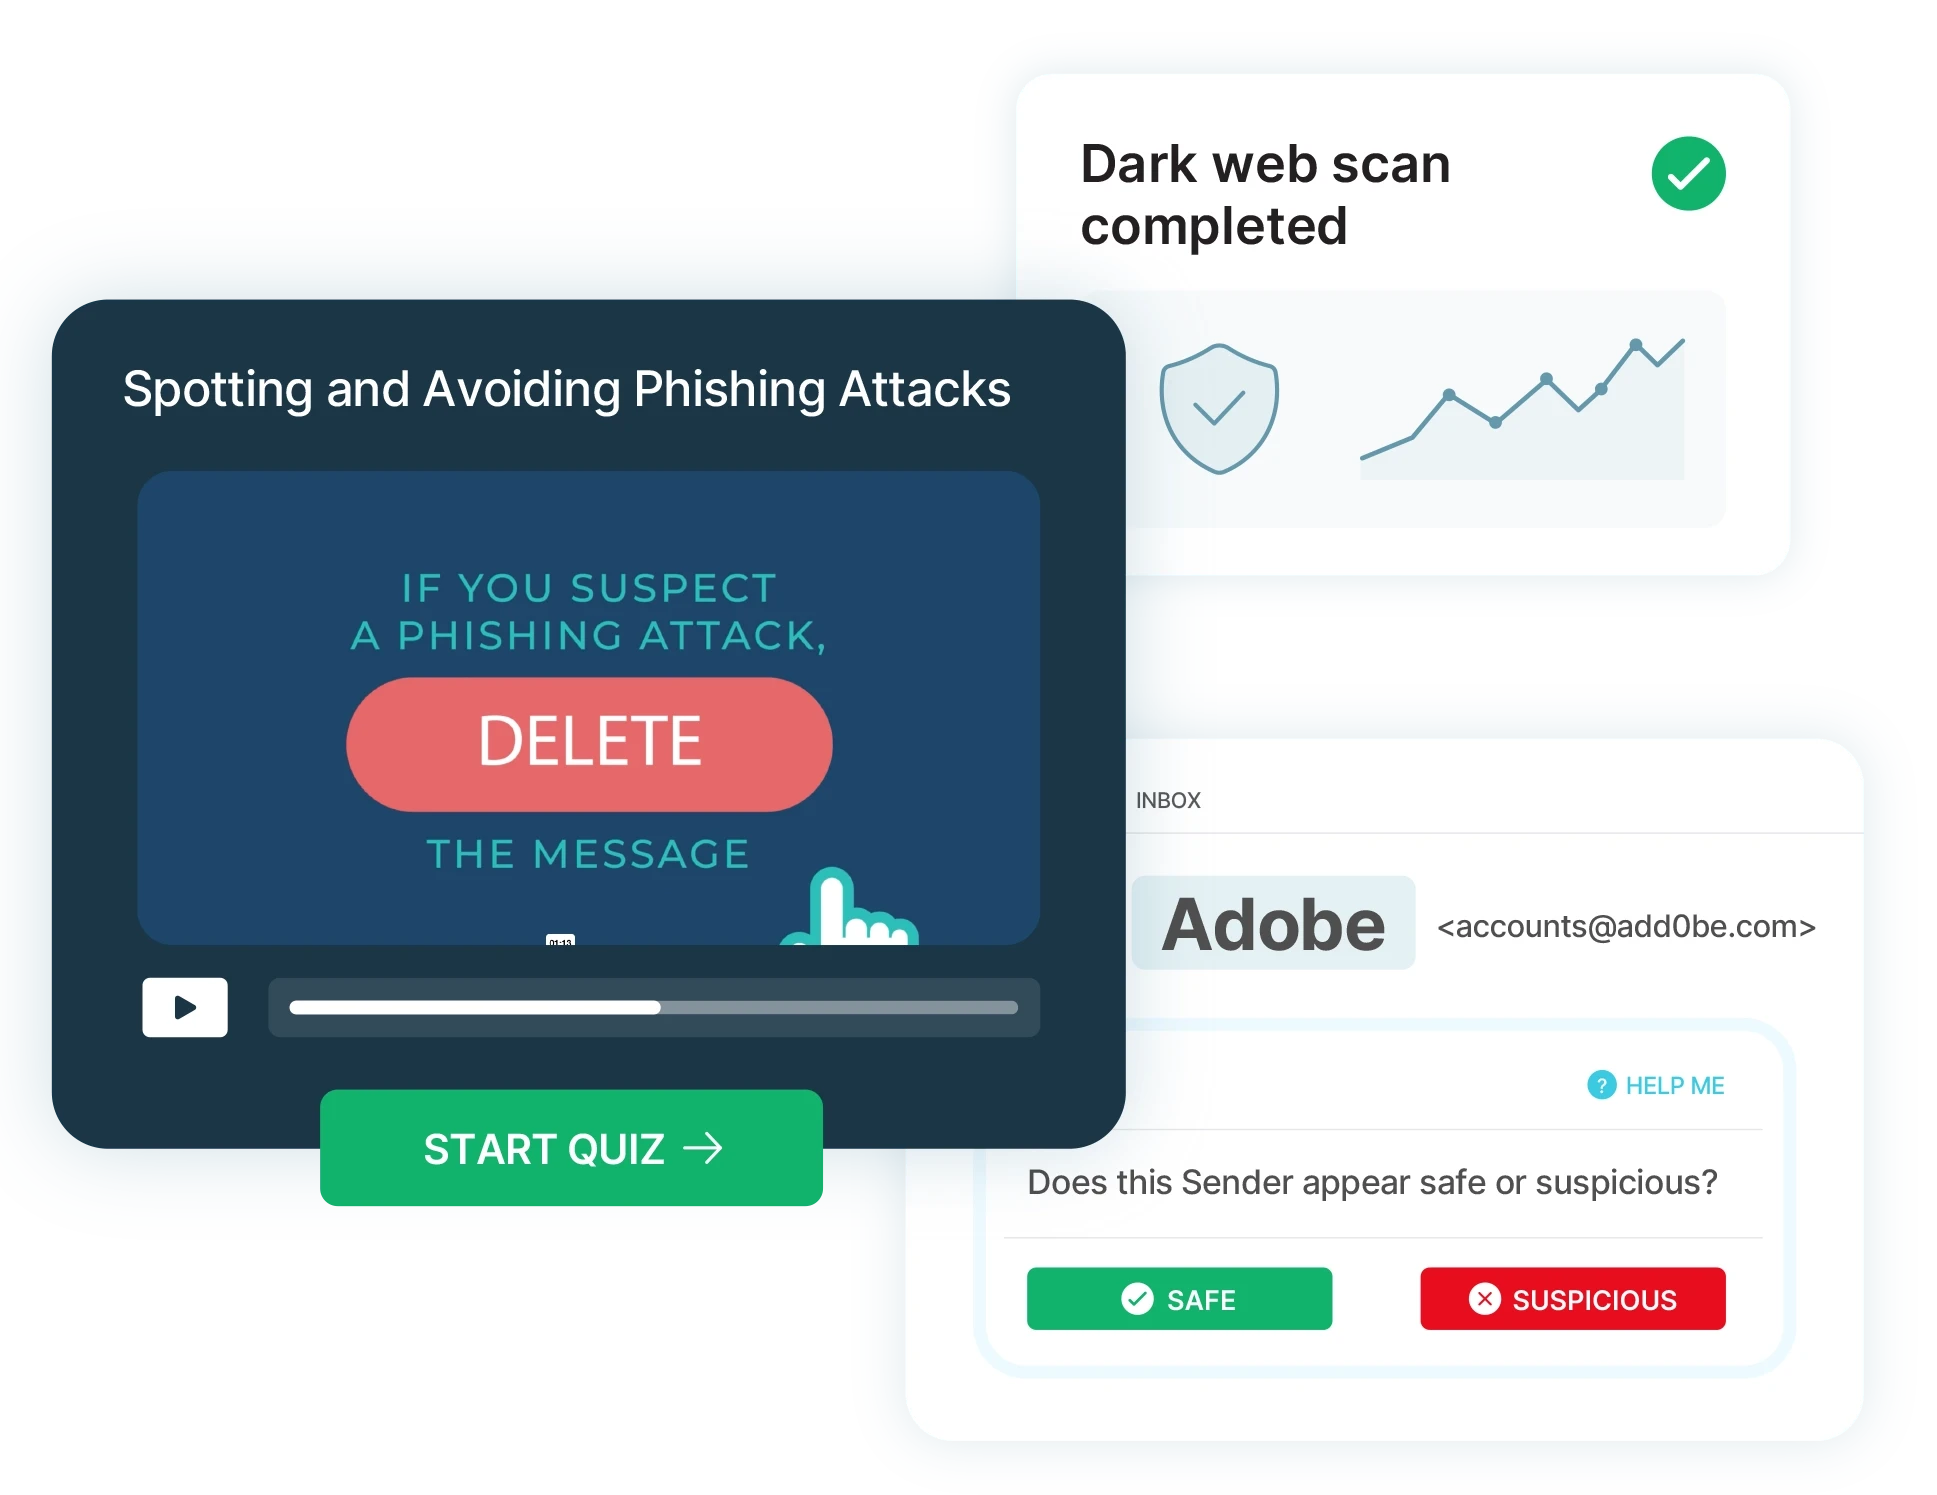
Defining managers for each employee in CyberHoot is very important. Employee managers are Carbon Copied (CC’d) on reminder emails sent to employees. This only happens when an Employee has not completed an assignment by the due date.
This short video shows how to set up Google Workspace sync in CyberHoot for the Power Platform.
Step 1- Permission and Consent: Administrator logs into Google and CyberHoot is assigned read-only permissions using the principle of least privilege, assigning the permissions listed below.

Step 2 – Token Acquisition: CyberHoot requests an OAuth 2.0 token from Google Workspace. Note that CyberHoot will not know nor store the password used by the admin.
Step 3 – Token Grant: Google validates the request and, if successful, issues an access token. This token encapsulates the permissions granted to CyberHoot.
Step 4 – Accessing Resources with the Token: CyberHoot uses this token to access the information on the table above. This information is used to add users to CyberHoot.
Discover and share the latest cybersecurity trends, tips and best practices – alongside new threats to watch out for.
Researchers went looking for a fake photo upscaler and found something stranger: a ransomware kit an AI model...
Read more
For four years, CyberHoot has argued the same thing on its blog: passwords are major weak link. They get reused,...
Read more
The 2026 FIFA World Cup kicked off on June 11th across the United States, Canada, and Mexico. Six million fans...
Read moreGet sharper eyes on human risks, with the positive approach that beats traditional phish testing.