This article explains how Autopilot’s CustomHoots PowerUp works and provides guidance on creating your own videos, documents, training programs, HootPhish training, and AttackPhish campaigns to assign to your tenants. These actions can be performed by a Super Admin within the Autopilot platform.
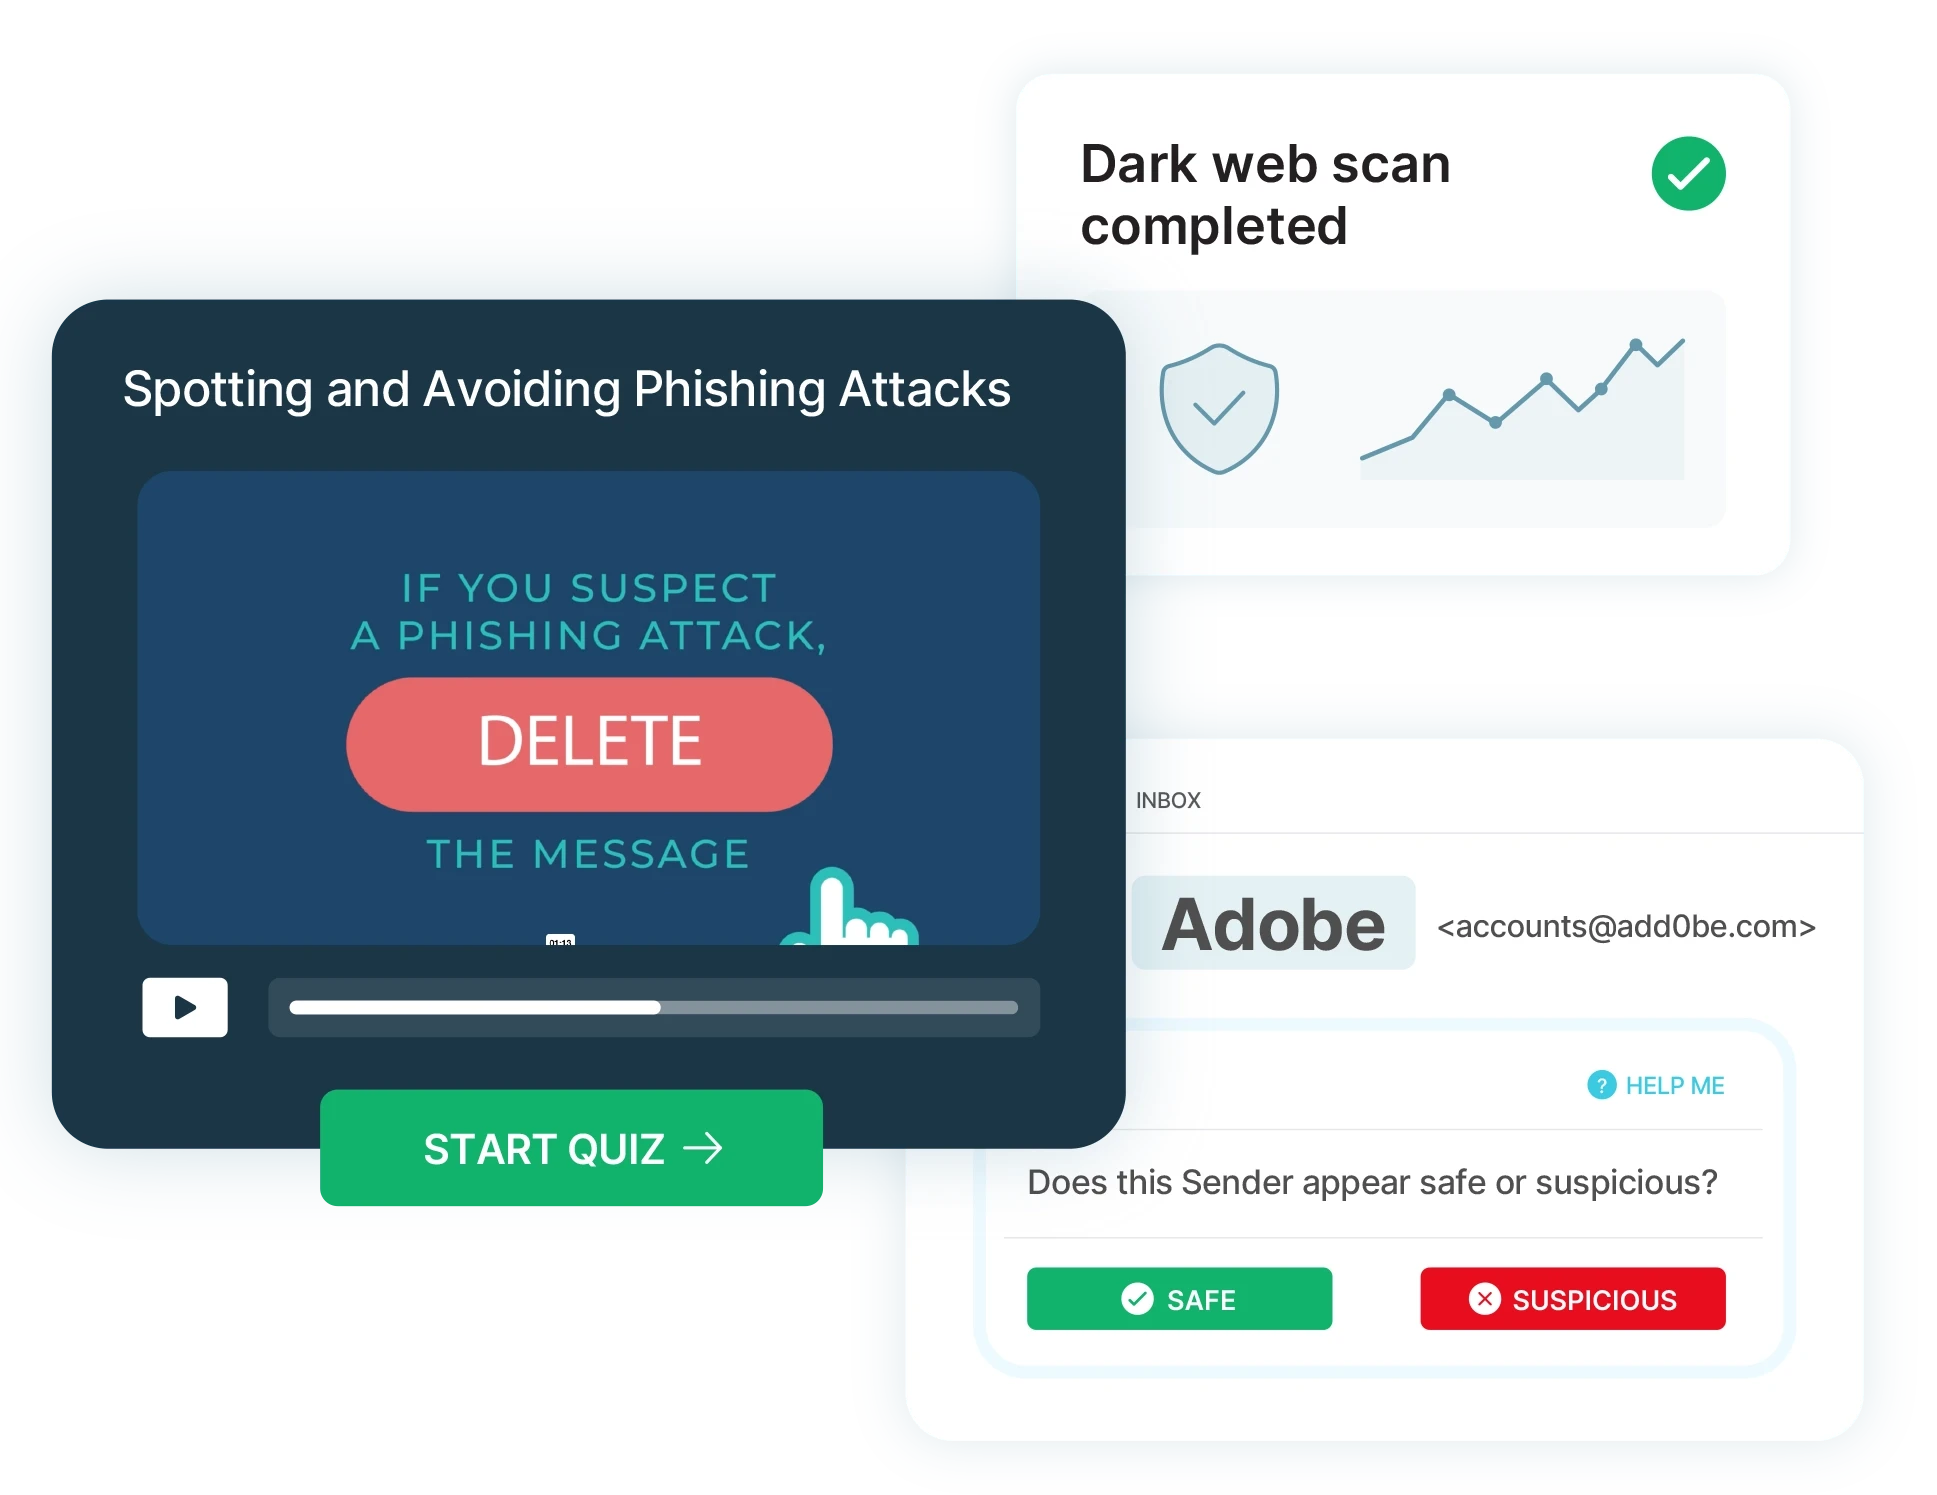
Creating a Video training
- Navigate to CustomHoots and select Create CustomHoot.
- Click Video or Document Training.
- Select the tenant under which you want the training to appear.
- Choose the Hoot Type (select Video) and insert the embedded video link.
- Under Hoot Settings, configure the following as needed:
- Set the training as optional if applicable
- Provide a name for the training
- Select the group(s) to assign the training to
- Set the training start date
- Choose whether to enable a quiz.
- Click Save to complete the setup.
Creating a Document/Policy
- Navigate to CustomHoots and select Create CustomHoot.
- Click Video or Document Training.
- Select the tenant under which you want the training to appear.
- Choose the Hoot Type (select Document) and upload a pdf file of the document/policy.
- Under Hoot Settings, configure the following as needed:
- Set the training as optional if applicable
- Provide a name for the training
- Select the group(s) to assign the training to
- Set the training start date
- Choose whether to enable a quiz.
- Click Save to complete the setup.
Creating a Training Program
- Navigate to CustomHoots and select Create CustomHoot.
- Click Training Program.
- Select the tenant under which you want the training to appear.
- Under Program Settings, configure the following as needed:
- Set the training as optional if applicable
- Provide a name for the Program
- Select the group(s) to assign the training to
- Set the training start date
- Drag and drop videos you wish to be a part of the program from the Training Library.
- Click Save to complete the setup.
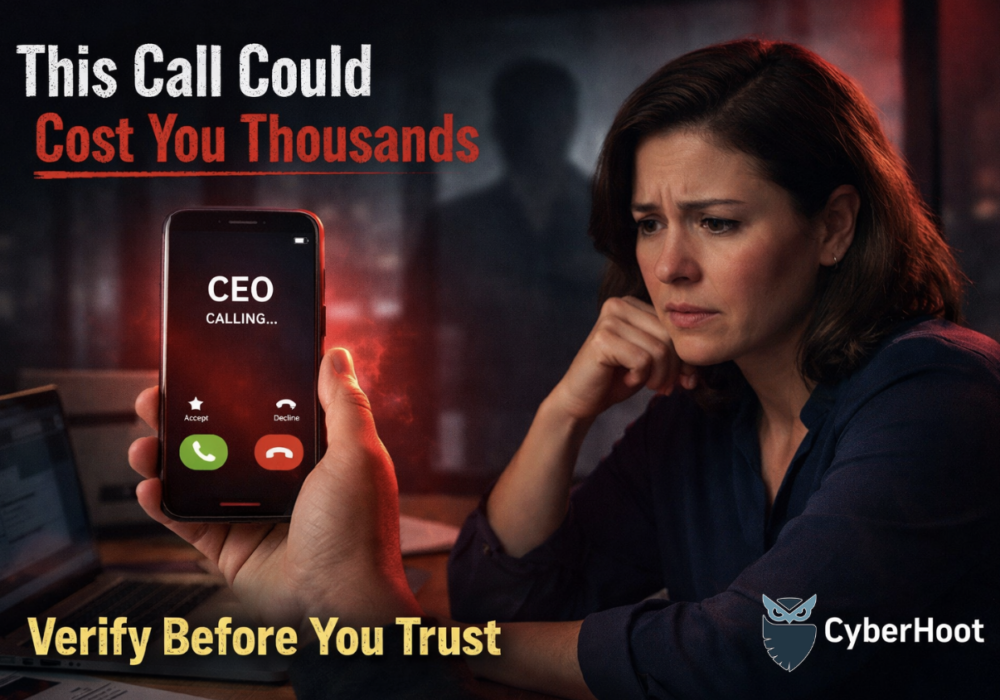
Creating a HootPhish Training
- Navigate to CustomHoots and select Create CustomHoot.
- Click HootPhish Training.
- Select the tenant under which you want the training to appear.
- Under Email Template, choose either a random template or select a specific template.
- Under Hoot Settings, configure the following as needed:
- Set the training as optional if applicable
- Provide a name for the training
- Select the group(s) to assign the training to
- Set the training start date
- Click Save to complete the setup.
Creating an AttackPhish Campaign
- Navigate to CustomHoots and select Create CustomHoot.
- Click AttackPhish Campaign.
- Select the tenant under which you want the training to appear.
- Under Email Template:
- Select whether you would like a unique email to be sent per user or the same email for all users
- Select the category tags for the AttackPhish
- Under Campaign Settings, configure the following as needed:
- Provide a name for the training
- Select the group(s) to assign the training to
- Set the training start date
- Choose to enable “Auto-Assign Trainings” when a user either clicks a link or submits data
- Under Report Settings, select the Admin(s) you wish to receive the AttackPhish campaign report once the campaign ends.
- Click Save to complete the setup.
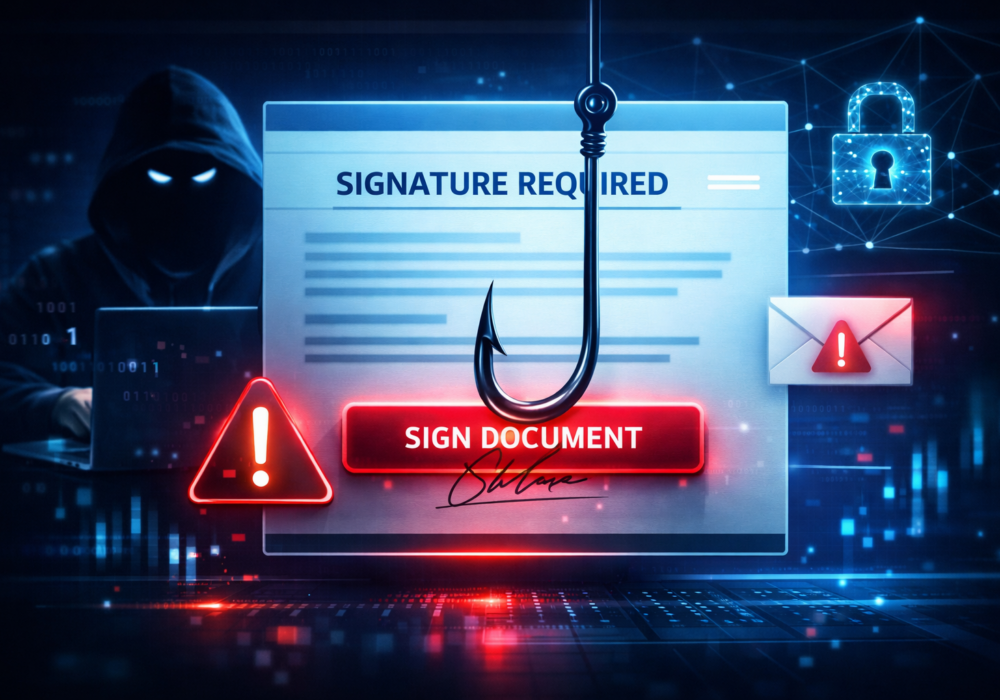
Creating a Custom AttackPhish
- Navigate to CustomHoots and select the CustomPhish Library.
- Click Create Phish to begin.
- Enter a Name and Description for your AttackPhish, then select the appropriate Category Tag(s).
- In AttackPhish Settings, enable AttackPhish.
- By default, all CustomPhish templates are created as HootPhish. Enabling this option allows the template to also be used for AttackPhish emails.
- Under Set Identifiers, define both safe and suspicious indicators (with explanations) for:
- Sender
- Subject
- Greeting
- Spelling, Punctuation & Grammar
- Urgency
- Link
- Attachment
- In the Email Body section, build out the content of your email and insert variables that correspond to the identifiers.
- You can preview both Safe and Suspicious versions to ensure everything appears as expected.
- In the Review step, confirm your setup. You’ll also have the option to select “Submit to CyberHoot Library.”
- If selected, the template may be added to the shared library (pending review and approval).
- If not selected, the template will remain available only within your organization.
- Click Save to complete the creation of your Custom AttackPhish.
- To assign the campaign, return to your CustomPhish Library, locate the newly created AttackPhish, click the three dots (⋯) next to it, and select Assign AttackPhish.
- Then follow the steps under “Creating an AttackPhish Campaign” above from there.