This guide walks you through setting up and managing the CyberHoot–SyncroMSP integration using the CyberHoot Power Platform.
Example:
Syncro Domain URL: “https://MyMSP.syncromsp.com”
API Key: (Paste the API Key you generated)
Please note:
Note: In the example below, the 3 bottom Syncro customers on the left were mapped to the chosen CyberHoot customers on the right.
Note: When looking at the users within the CyberHoot’s customer now, it will show the user “Type” as “Syncro”.
Note: When removing the customer using the steps above, you can easily add them back by mapping them back up.
Note: Choose the option below carefully.
If you want to continue using CyberHoot without the integration with Syncro, choose “Disconnect & Set Local“. This will set all users to be locally managed within CyberHoot.
If you plan on archiving all users within CyberHoot after disconnecting, select “Disconnect & Archive“.
Discover and share the latest cybersecurity trends, tips and best practices – alongside new threats to watch out for.
And yes, Google's Gemini AI had no idea it was working for the bad guys. Malware has always followed a script....
Read more
Ransomware groups are not breaking in organizations the same way they did five years ago. The entry methods have...
Read more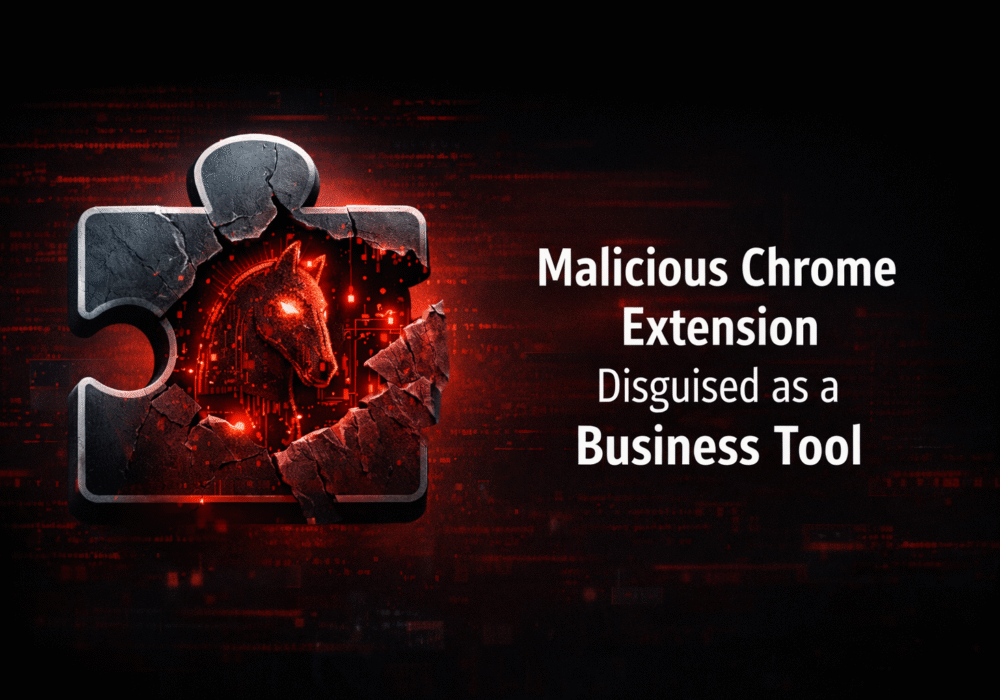
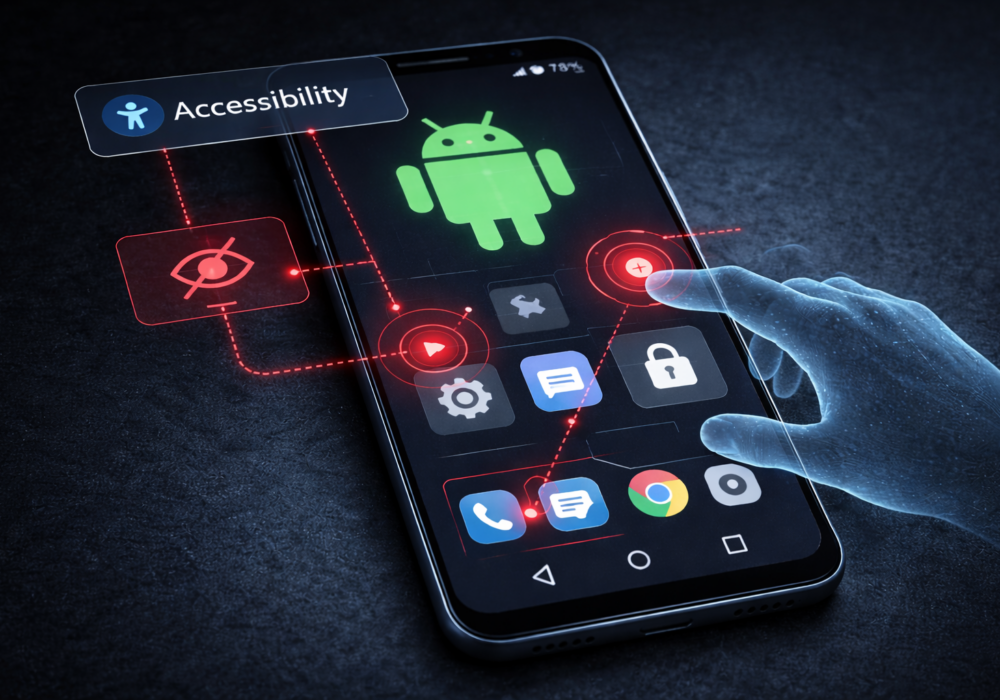
If a Chrome extension promises to remove security pop-ups and generate MFA codes, that should make you...
Read moreGet sharper eyes on human risks, with the positive approach that beats traditional phish testing.